
Every season, gardening forums fill with frustrated posts from first-time loofah growers. "My plant never flowered." "All my fruit rotted." "I got nothing but tiny sponges." The disappointment is real—and almost always preventable.
Loofah isn't a difficult crop, but it has specific needs that catch many gardeners off guard. Unlike tomatoes or zucchini that forgive a lot of mistakes, loofah has a narrow window for success. Miss that window, and you'll have nothing to show for months of effort. Hit it, and you'll harvest dozens of quality sponges from just a few plants.
After years of growing loofah and helping hundreds of gardeners troubleshoot their crops, I've identified the mistakes that cause the most heartbreak. Here are the ten biggest errors and exactly how to avoid each one.
1. Starting Seeds Too Late
This is far and away the most common reason loofah growers fail, and it's entirely about understanding one crucial number: loofah needs 150 to 200 frost-free days to produce mature, usable sponges. That's not 150 days from planting seeds—that's 150 days of warm weather after transplanting established seedlings outdoors.
Many gardeners treat loofah like they would tomatoes or summer squash, waiting until after the last frost to plant seeds directly in the ground. By the time those seeds germinate, develop into seedlings, and start producing fruit, it's already August. The fruit needs another 4-6 weeks just to reach full size, then another month or more to dry on the vine. When the first fall frost hits, you're left with green, unusable gourds that rot instead of becoming sponges.
The solution is simple but requires planning ahead. Start your seeds indoors 6-8 weeks before your last expected frost date. Check our planting calendar by zone for exact timing in your area.
When to Start Seeds by Zone
- Zones 5-7: Start seeds indoors in February-March
- Zones 8-9: Start seeds indoors in March-April
- Zones 10-11: Can direct sow, but indoor start still helps
2. Not Enough Sunlight
Loofah is a tropical vine that evolved in full sun, and it simply won't perform well in shade. Yet gardeners regularly plant it against north-facing fences, under tree canopies, or in that "partially shaded" corner of the yard where nothing else thrives. The thinking seems to be that since the vine grows so vigorously, it can handle less-than-ideal conditions. It can't.
In partial shade, loofah vines become leggy and weak, stretching toward whatever light they can find instead of putting energy into flowers and fruit. You might see plenty of foliage but very few blooms. The flowers that do appear often fail to set fruit, and any fruit that develops stays small and misshapen. In heavy shade—less than 4 hours of direct sun—the plant may never flower at all, leaving you with nothing but a tangle of leaves.
Your loofah needs a minimum of 6 hours of direct sunlight daily, and 8 or more hours is significantly better for maximum production. Choose the sunniest spot in your garden, ideally a south-facing location if you're in the Northern Hemisphere. Don't guess at sun hours—actually track them for a few days, because shadows from buildings and trees shift throughout the season.
Sun Requirements
- Minimum: 6 hours direct sunlight daily
- Ideal: 8+ hours for maximum production
- Best location: South-facing, away from trees and buildings
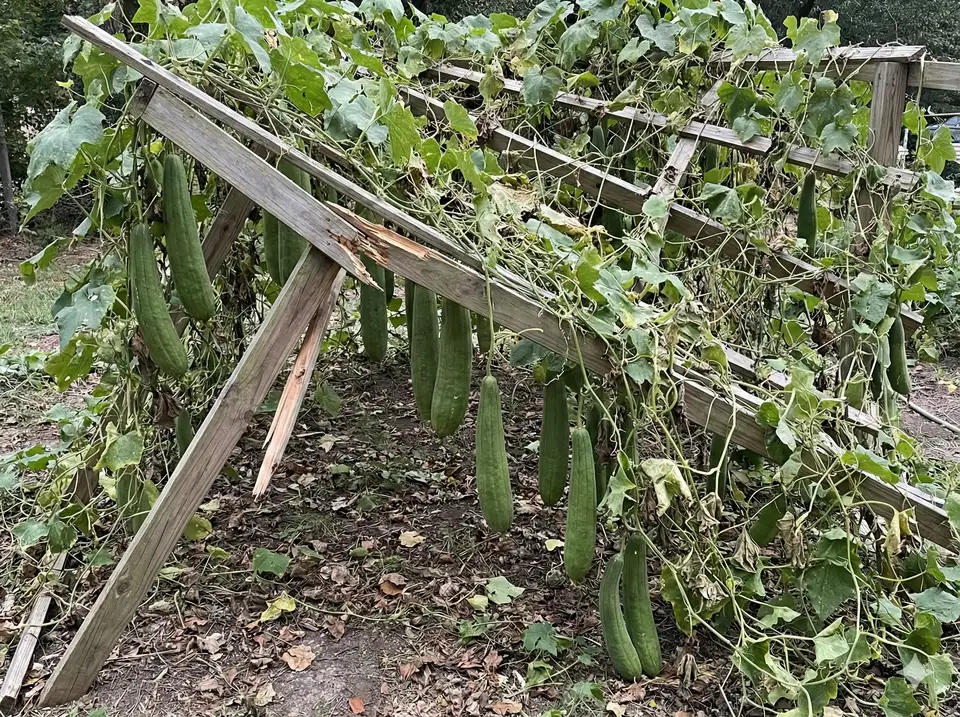
3. No Trellis or Support
Some gardeners see "gourd" in the description and assume loofah can sprawl on the ground like pumpkins or watermelons. Others provide a small tomato cage, thinking it will be enough. Both approaches lead to disappointment. Loofah is a vigorous climbing vine that can grow 20-30 feet in a single season, and it desperately wants to climb.
When loofah fruit develops on the ground, problems multiply quickly. The fruit rots where it contacts moist soil. Slugs, earwigs, and other pests feast on it. Fruit develops flat, discolored sides instead of the uniform cylindrical shape you want. Dense ground foliage traps moisture and promotes fungal diseases that can kill the entire plant. Growers who let their loofah sprawl typically harvest less than half what they would with proper trellising—and the sponges they do get are often damaged or misshapen.
Build or install a sturdy trellis at least 6-8 feet tall before you transplant. Cattle panels make excellent loofah trellises because they're strong, weather-resistant, and have openings large enough for fruit to hang through. Arbors, pergolas, and chain-link fences also work well. Whatever you choose, make sure it can support 50 pounds or more when fully loaded with fruit. Install your trellis before transplanting—loofah roots are sensitive to disturbance, and installing a trellis later means damaging them. See our complete trellis ideas guide for designs that work.
Trellis Requirements
- Height: Minimum 6-8 feet tall
- Strength: Must support 50+ pounds when fruiting
- Good options: Cattle panels, arbors, sturdy fencing
- Timing: Install before transplanting to avoid root damage
4. Overwatering
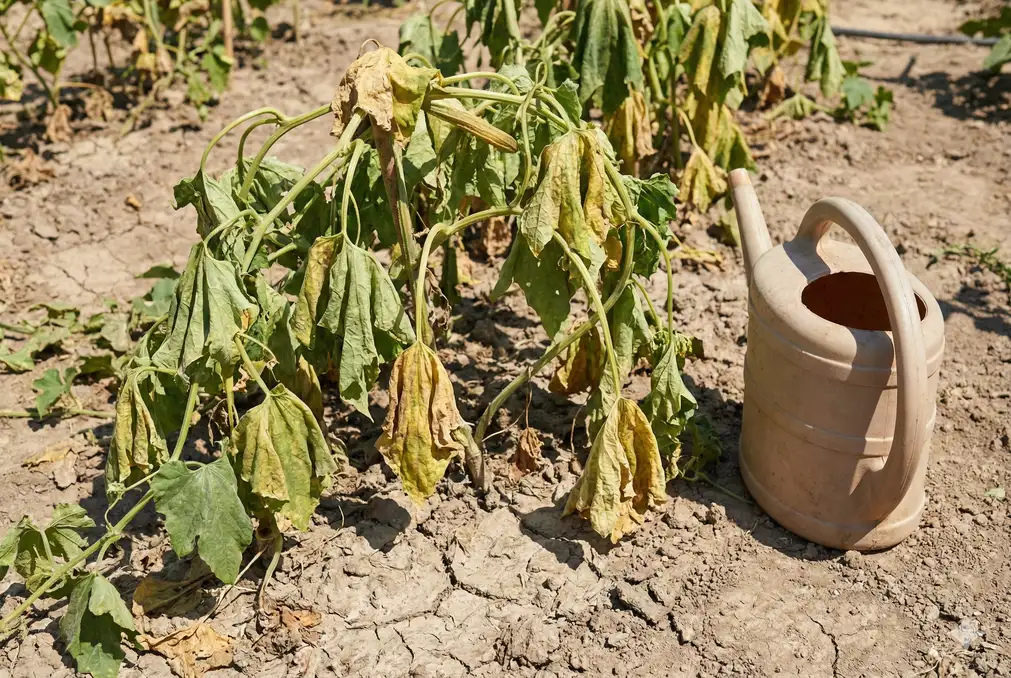
Overwatering kills more container-grown loofah than any other single cause. The logic seems sound: loofah is a tropical plant that loves heat, so surely it needs lots of water, especially during hot weather. But loofah roots evolved in well-drained soil, and they're highly susceptible to rot when kept constantly wet.
The symptoms of overwatering are cruel because they mimic underwatering. Leaves turn yellow and wilt, so the gardener's instinct is to water more. But the problem isn't lack of water—it's that the roots have rotted and can no longer take up the water that's there. More watering only accelerates the decline. By the time the gardener realizes something is wrong, the root system is often too damaged to recover, and the plant dies despite sitting in wet soil.
The fix requires a mindset shift: water deeply but infrequently. Stick your finger into the soil before watering—if the top 2 inches are still moist, wait another day or two. When you do water, soak the soil thoroughly so water reaches the deep roots, then let it dry out before watering again. Good drainage is essential: if you're growing in containers, make sure they have multiple drainage holes and never sit in saucers of standing water. In-ground plants need well-draining soil—if your soil is heavy clay, amend it heavily with compost or consider raised beds.
Watering Guidelines
- Water only when the top 2 inches of soil are dry
- Water deeply to reach the full root zone
- Ensure containers have multiple drainage holes
- Never let pots sit in saucers of standing water
- Mulch to maintain even moisture (not soggy)
Recommended Growing Supplies
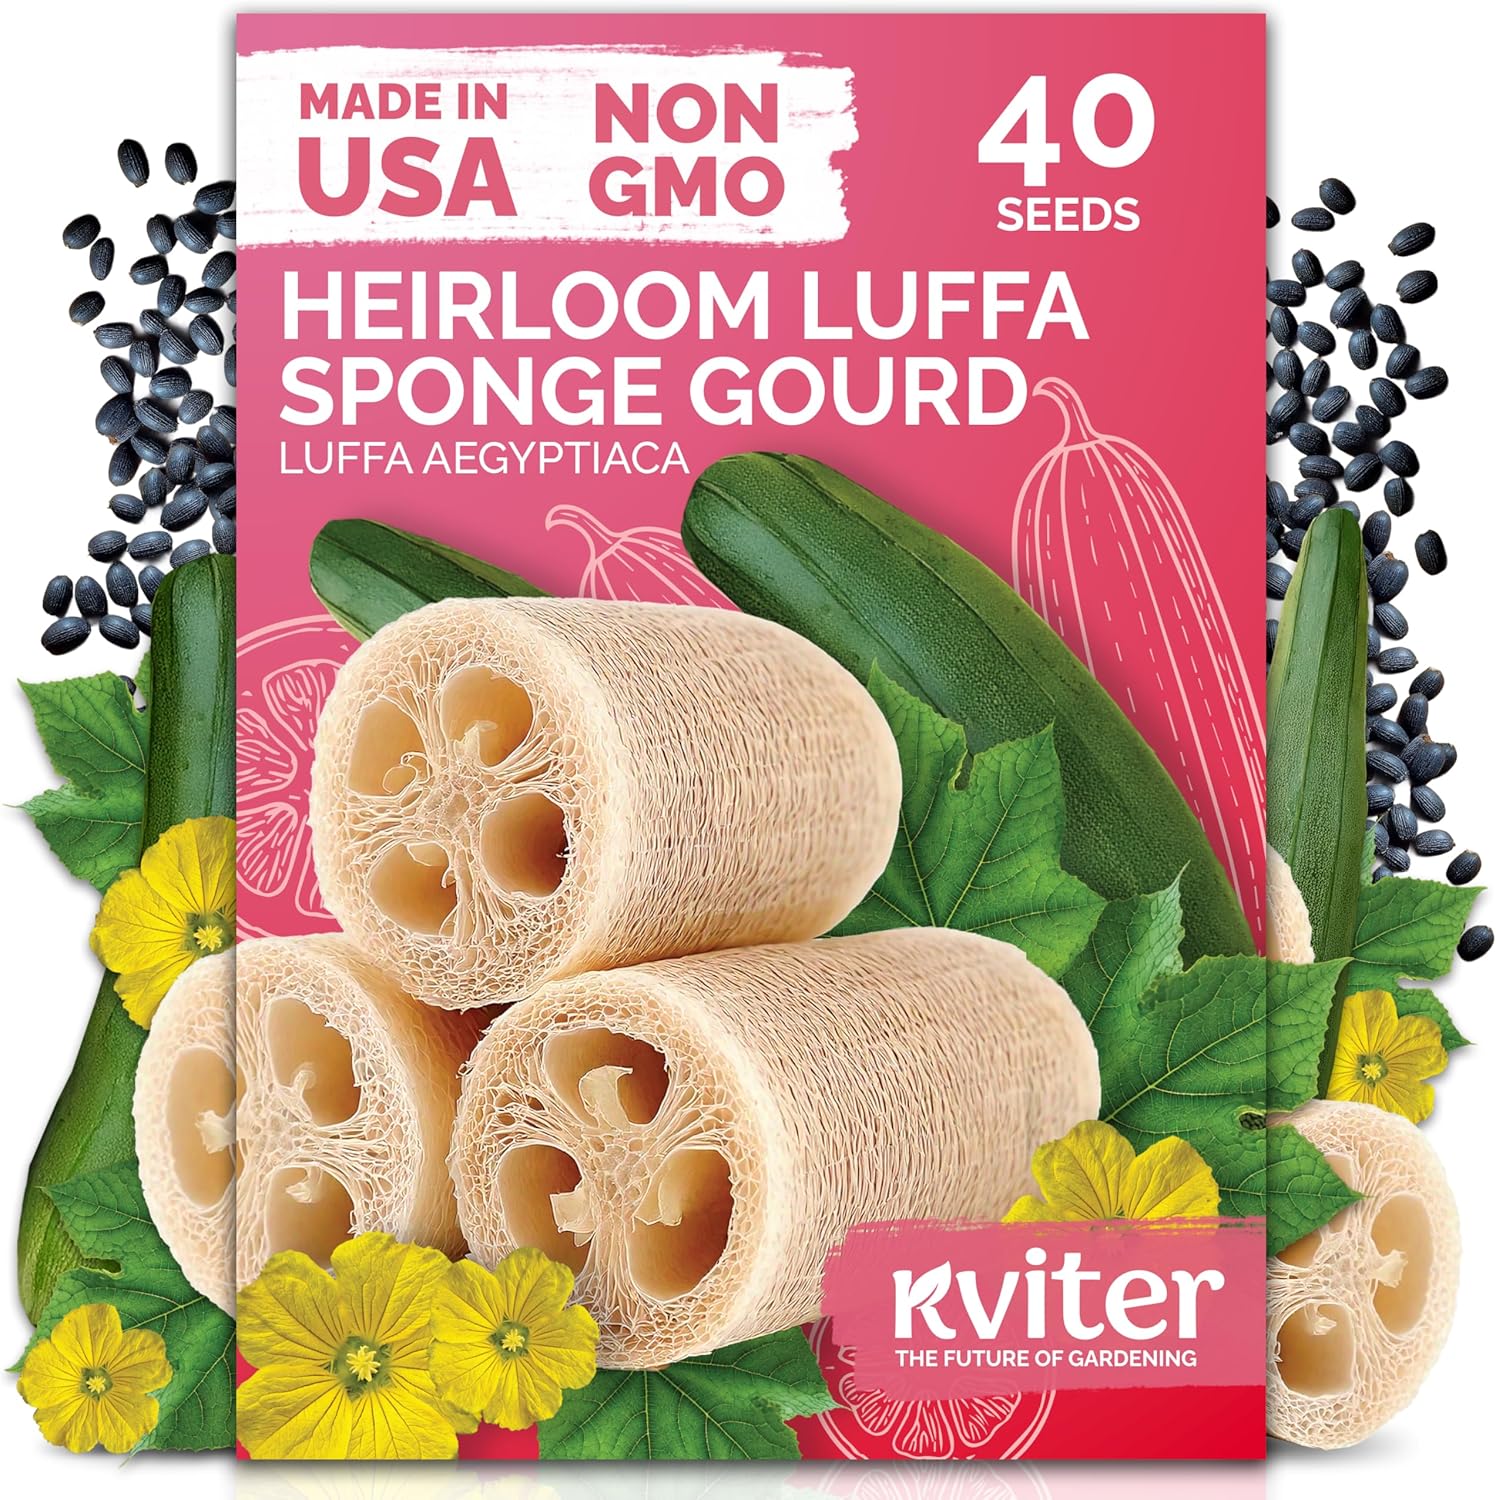
KVITER Heirloom Luffa Seeds (40 Count)
Fast-sprouting non-GMO seeds with 90%+ germination - grow your own natural sponges in one season
Buy on Amazon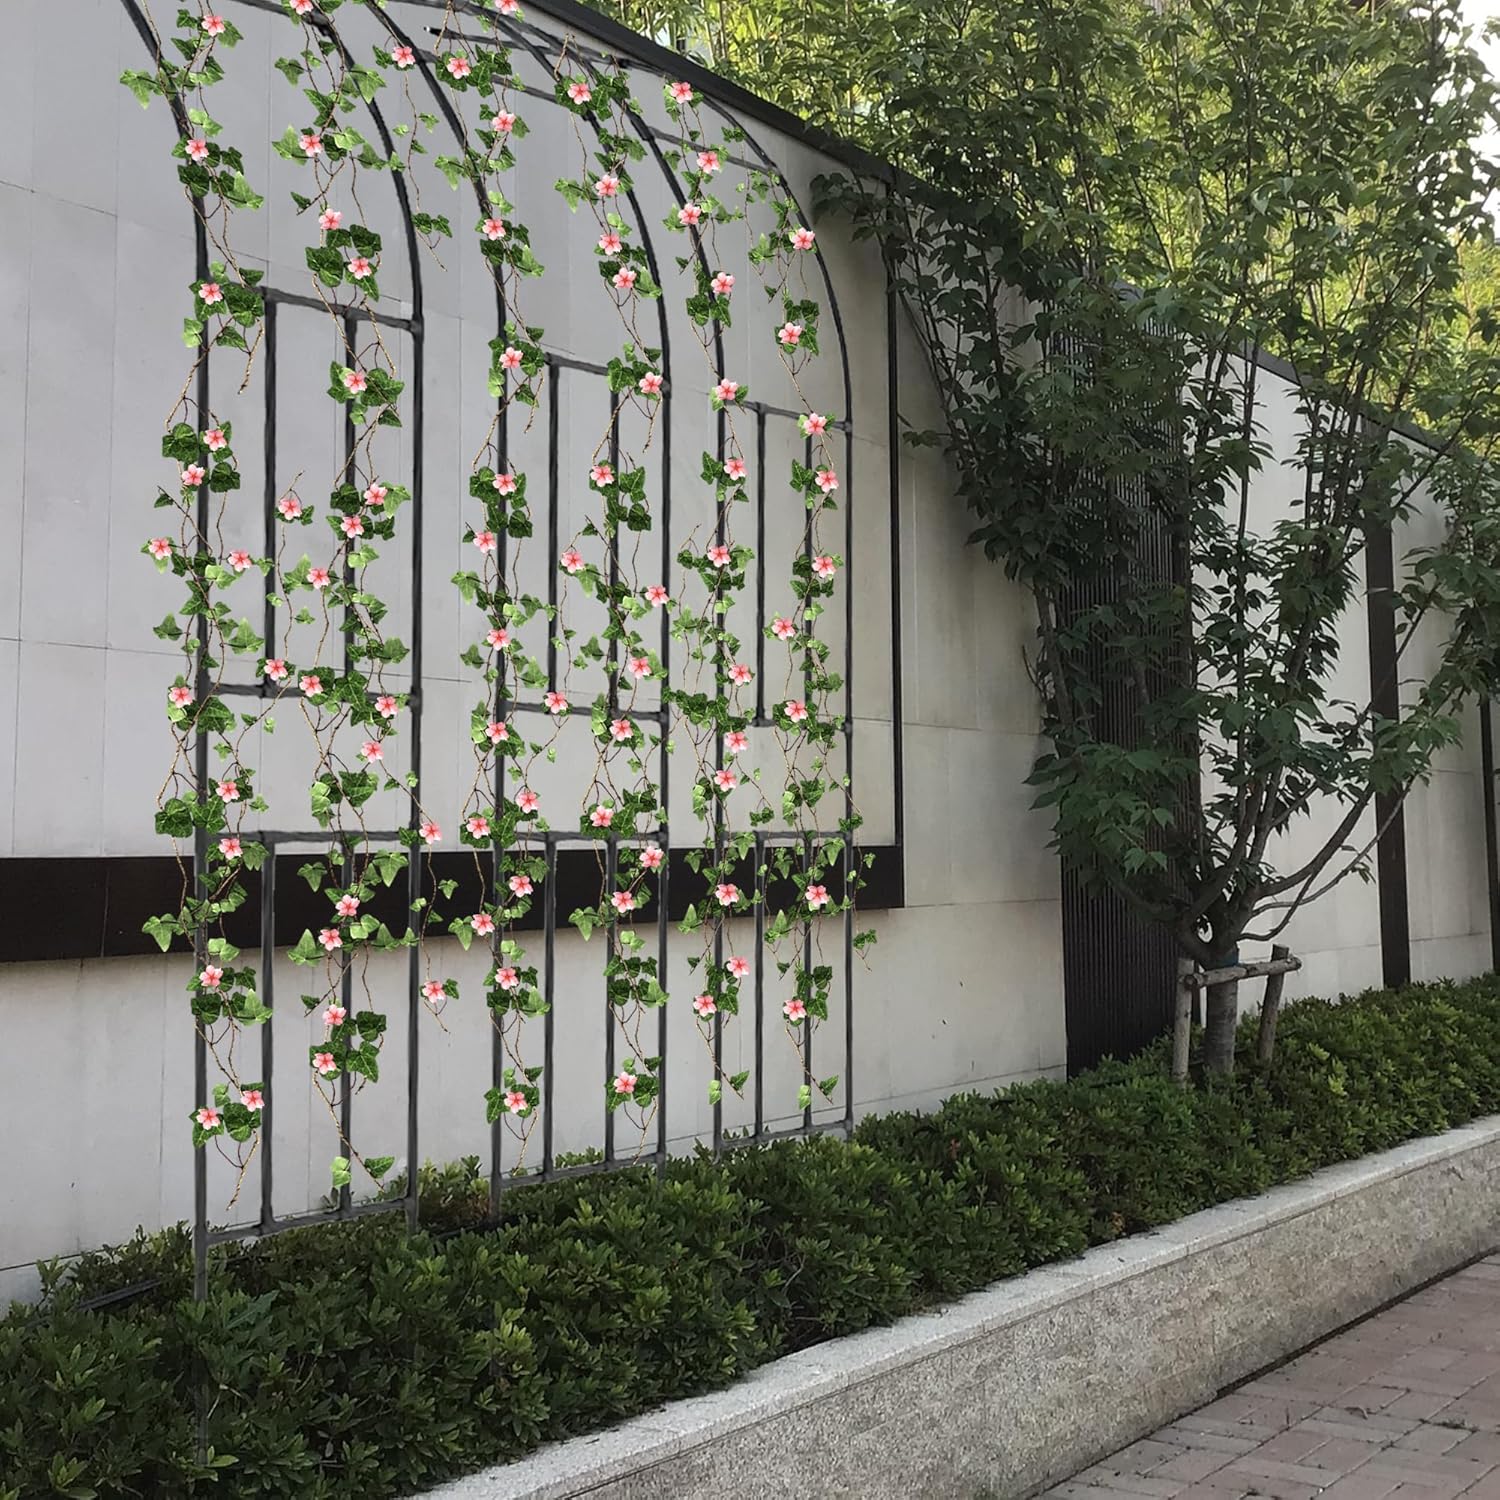
Twira Heavy-Duty Metal Garden Arch Trellis (7.9FT)
Rust-proof galvanized steel supports 100+ lbs of loofah vines - easy assembly with ground stakes
Buy on AmazonAs an Amazon Associate, we earn from qualifying purchases.
5. Relying Only on Natural Pollination
Loofah produces separate male and female flowers on the same plant, and pollen must transfer from male to female for fruit to develop. Many gardeners assume bees and other pollinators will handle this automatically. Sometimes they do. But loofah flowers open in the early morning and often close by midday, giving pollinators a narrow window. If your garden doesn't have abundant bee activity during those morning hours, pollination fails.
The symptoms are unmistakable and frustrating. You'll see beautiful yellow flowers appear regularly, followed by tiny fruit forming at the base of female flowers. Then, a few days later, those baby fruit turn yellow and drop off. The vine keeps flowering, keeps setting fruit, and keeps dropping them. You end up with a spectacular flowering vine and nothing to harvest.
Hand pollination eliminates this uncertainty entirely. Learn to tell male flowers (long thin stems, no bulge at the base) from females (short stems with a small cucumber-shaped bulge behind the flower). Early in the morning when flowers first open, pick a male flower, peel back the petals to expose the pollen-covered stamen, and brush it directly onto the stigma inside a female flower. Use two or three male flowers per female for the best results. See our pollination troubleshooting guide for detailed photos and techniques.
Hand Pollination Tips
- Pollinate early morning when flowers first open
- Use 2-3 male flowers per female for best results
- Male flowers: long thin stems, no bulge at base
- Female flowers: short stems with small gourd behind flower
6. Harvesting Too Early
Perhaps the cruelest mistake is putting in months of work—starting seeds early, building a trellis, nurturing the vines through summer—only to ruin your sponges by harvesting too soon. The temptation is real: after watching those gourds grow for weeks, you want to see what's inside. But loofah isn't like other gourds. Picking it green gives you a vegetable (which you can eat), not a sponge.
The fibrous network that makes loofah useful as a sponge develops late in the fruit's maturation. Green loofah is mostly water-filled flesh surrounding undeveloped fibers. If you cut it open too early, you'll find soft, squishy tissue that will rot rather than dry into a useful scrubber. Even if you try to dry a prematurely harvested loofah, the fibers will be weak, thin, and prone to falling apart.
Leave the fruit on the vine until nature tells you it's ready. The skin will transition from green to yellow to brown and become dry and papery. The fruit will feel dramatically lighter than it did when green—pick it up and you'll notice the difference immediately. Shake it and you'll hear seeds rattling inside. The skin should peel away easily, almost falling off on its own. This drying process takes 4-6 weeks after the fruit reaches full size, so patience is essential. Our harvest timing guide has photos showing exactly what ready-to-harvest loofah looks like.
Signs Loofah Is Ready to Harvest
- Skin has turned brown and feels dry/papery
- Fruit feels dramatically lighter than when green
- Seeds rattle when you shake it
- Skin peels away easily
- Exception: harvest green only if hard frost threatens

7. Growing in the Wrong Zone Without Adaptation
Loofah is a tropical plant native to South and Southeast Asia. In its homeland, it enjoys year-round warmth with no frost. This background makes it challenging—but not impossible—to grow in cooler climates. The mistake isn't growing loofah in zones 6 or 7; it's growing it there without understanding and adapting to your shorter season.
Without adaptation strategies, gardeners in cooler zones face an impossible timeline. By the time the soil warms enough to plant (often late May or early June), they've already lost 6-8 weeks compared to gardeners in warmer zones. The growing season ends in September or October with the first hard frost. That's simply not enough warm days for loofah to mature fruit and dry on the vine, no matter how well everything else goes.
Success in cooler climates requires aggressive season extension on both ends. Start seeds indoors even earlier than usual—8-10 weeks before last frost instead of 6-8. Use Wall O' Waters or cloches to protect transplants and warm the soil, allowing you to transplant 2-3 weeks earlier than you otherwise could. Choose the warmest microclimate in your yard, often against a south-facing wall that radiates stored heat. Select fast-maturing loofah varieties bred for shorter seasons. Our cold climate growing guide covers all the details.
Cold Climate Strategies
- Start seeds 8-10 weeks before last frost (not 6-8)
- Use Wall O' Waters or cloches for early transplanting
- Plant against south-facing walls for extra heat
- Choose fast-maturing varieties
- Use row covers in fall when temps drop into 40s
8. Too Much Nitrogen Fertilizer
Nitrogen is the nutrient that drives leafy green growth, and loofah responds to it enthusiastically—too enthusiastically. Feed your loofah high-nitrogen fertilizer, and it will reward you with an explosion of vines, huge leaves, and impressively vigorous growth. What it won't give you is fruit.
The biology behind this is straightforward. Plants have limited energy to allocate between vegetative growth (leaves, stems, roots) and reproductive growth (flowers, fruit). When nitrogen is abundant, the plant "decides" to keep investing in vegetation because conditions seem favorable for expansion. It postpones flowering because from the plant's perspective, there's no urgency to reproduce. Meanwhile, you're watching this magnificent vine take over your trellis and wondering why it won't bloom.
The solution is to think in two phases. Early in the season, while the vine is establishing, a balanced fertilizer (like 10-10-10) provides adequate nitrogen along with phosphorus and potassium. But once the vine reaches your trellis and starts branching vigorously—usually around 6-8 weeks after transplanting—it's time to switch. Stop the nitrogen-heavy feeding and transition to a bloom fertilizer with higher phosphorus and potassium. Tomato fertilizers work excellently for this purpose because they're designed for the same flowering-and-fruiting stage.
Fertilizing Strategy
- Early season: Balanced fertilizer (10-10-10)
- Once vines establish: Switch to bloom/tomato fertilizer
- Avoid: High-nitrogen lawn fertilizers
- When to switch: ~6-8 weeks after transplanting
9. Ignoring Pests Until It's Too Late
Loofah belongs to the cucurbit family, which means it attracts all the pests that plague cucumbers, squash, and melons. The most dangerous of these is the cucumber beetle, a small yellow-and-black striped or spotted insect that looks almost harmless. It isn't. Beyond the direct feeding damage it causes, the cucumber beetle carries bacterial wilt—a disease that can kill an otherwise healthy plant within days and has no cure once established.
The pattern with pest damage is depressingly predictable. The gardener checks their plants occasionally, sees some minor chewing on leaves, and dismisses it as cosmetic. A few weeks later, the vine suddenly wilts despite adequate water. Within days, it's dead. The bacterial wilt was transmitted weeks ago by those cucumber beetles doing their "minor" feeding damage; it just took time for the disease to spread through the plant's vascular system.
Prevention is everything because treatment options are limited. Make plant inspection a daily ritual during the growing season. Look carefully at leaf undersides where pests and their eggs hide. Check the base of stems where squash vine borers drill entry holes. In areas with high cucumber beetle pressure, use floating row covers to create a physical barrier—just remove them once flowering begins so pollinators can access the blooms. When you do spot pests, act immediately. Our pest management guide covers identification and treatment for every common loofah pest.
Pest Prevention
- Inspect plants daily during growing season
- Check leaf undersides for eggs and small pests
- Look at stem bases for vine borer entry holes
- Use row covers until flowering to exclude beetles
- Act immediately: hand-pick, insecticidal soap, or neem oil
10. Container Too Small
Container growing opens up loofah cultivation to gardeners without in-ground space, but only if the container is large enough. The most common mistake is using a 5-gallon bucket or standard nursery pot—containers that work fine for tomatoes or peppers but are woefully inadequate for loofah's massive root system and heavy nutrient demands.
A loofah vine can grow 20-30 feet in a season and produce dozens of fruit, each requiring water and nutrients that must come from its root system. In a small container, roots quickly fill the available space and begin circling. Growth slows or stops entirely. The plant struggles to take up enough water during hot weather, requiring multiple waterings per day just to survive. Stressed by root restriction, it produces few flowers and even fewer fruit. Many container-grown loofahs in undersized pots simply stop flowering mid-season as the plant abandons reproduction to focus on survival.
The minimum container size for a single loofah plant is 15-20 gallons, and 25-30 gallons produces noticeably better results. Fabric grow bags work exceptionally well because they allow air pruning of roots (preventing circling) and provide excellent drainage. Whatever container you choose, ensure it has multiple drainage holes—loofah in containers is even more susceptible to overwatering than in-ground plants. Fill with high-quality potting mix amended with compost. Our container growing guide walks through everything from container selection to harvest.
Container Requirements
- Minimum size: 15-20 gallons per plant
- Ideal size: 25-30 gallons for best production
- Best type: Fabric grow bags (air pruning, good drainage)
- Ensure multiple drainage holes
- Use quality potting mix amended with compost
Setting Yourself Up for Success
Now that you know what not to do, here's a quick reference of the key practices that lead to successful loofah growing:
Loofah Growing Essentials
- Start early: Seeds indoors 6-8 weeks before last frost (earlier in cold zones)
- Maximum sun: 6-8+ hours of direct sunlight daily, south-facing if possible
- Strong support: Sturdy 6-8 foot trellis installed before transplanting
- Smart watering: Deep watering only when top 2 inches of soil are dry
- Hand pollinate: Transfer pollen yourself for guaranteed fruit set
- Patience at harvest: Wait until fruit dries brown and papery on vine
- Right fertilizer: Balanced early, bloom formula once flowering starts
- Pest vigilance: Daily inspection, immediate action at first sign of problems
- Big containers: Minimum 15-20 gallons, preferably 25-30
Avoiding these mistakes won't guarantee a perfect harvest—weather, regional pests, and plain bad luck can still cause problems. But you'll have eliminated the self-inflicted wounds that cause most loofah failures, giving your plants the best possible chance to thrive.